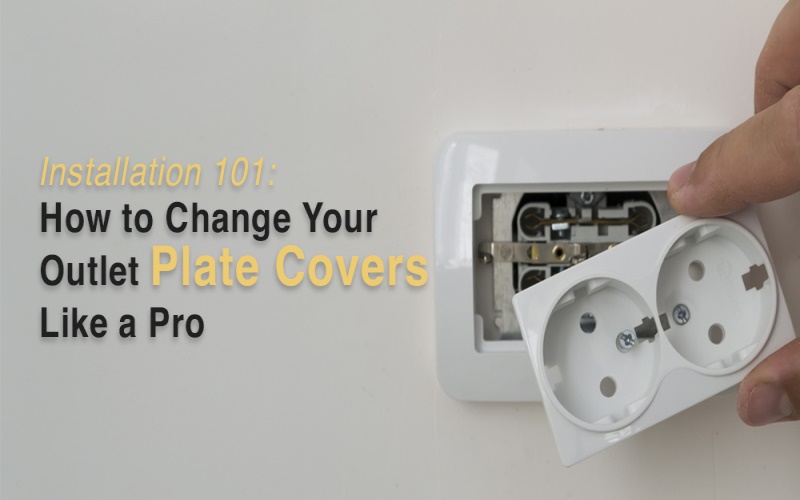
Embarking on a home improvement journey can be both exciting and rewarding. Upgrading your outlet plate covers can significantly impact a quick and impactful change.
Whether you’re a seasoned DIY enthusiast or a beginner looking to spruce up your living space, this article will have you transforming your outlets like a pro in no time.
Getting to Know Outlet Plate Covers: Your Easy Guide
Outlet plate covers might seem like small details, but they matter for safety and style in your home. Let’s explore the different types of covers and why picking the right size and material is crucial.
Types of Outlet Plate Covers
- Plastic Plate Covers: These are basic and come in many colors. They’re easy to handle and durable for everyday use.
- Metal Plate Covers: These look sleek and are perfect for a modern vibe. They last a long time and handle wear and tear well.
- Decorative Plate Covers: These let you add style to outlets. They come in cool designs, making your outlets stand out.
Picking the Right Size: Ensure the cover fits your electrical box. Standard ones work for most outlets, but if your box is bigger, go for an oversized cover.
Gearing Up for the Job: Tools and Materials You Need
Before you update your outlet plate covers, ensure you have the right tools. Here’s a simple list to guide you through the process, providing a smooth and safe upgrade.
Essential Tools
- Screwdriver
- Safety Gloves
- Voltage Tester
- Pliers
- Flashlight
Getting Ready for Installation: A Step-by-Step Safety Guide
Before updating your outlet plate covers, ensuring a safe environment is crucial. Here’s a step-by-step guide to help you prepare for the installation, emphasizing safety precautions to prevent electric shock.
- Identify your electrical panel’s main circuit breaker switch.
- Turn off the circuit breaker that controls the power to your working outlet. If unsure, it’s safer to turn off the main switch.
- Use a non-contact voltage tester to confirm the power is off. Hold the tester close to the outlet; if it doesn’t beep or light up, it’s safe to proceed.
Importance of Safety Precautions
- Never perform electrical work in wet conditions. Ensure the work area is dry to prevent electrical shock.
- During the installation, refrain from using metal tools to reduce the conductivity and electric shock risk.
- If possible, unplug any appliances near the work area to eliminate the risk of accidental activation.
Removing Your Outlet Plate Cover Like a Pro
Removing the old outlet plate cover is the first step to giving your outlets a fresh look. Here’s a detailed guide on how to do it carefully:
Step-by-Step Removal Process
- Ensure the power is off using a non-contact voltage tester. Safety first!
- Carefully loosen the screws on the outlet plate cover. Turn counterclockwise until the screws are entirely loosened.
- Once loosened, place the screws in a small container or bag to avoid misplacement.
- Gently pry the outlet plate cover away from the wall using your fingers. Start at one corner and work your way around.
- Inspect the wiring inside Once the cover is off. Ensure no wires are loose or disconnected.
Dealing with Potential Challenges
- Stripped Screws: Grip it firmly with pliers and turn it counterclockwise.
- Painted-Over Plates: Score along the edges with a utility knife or putty knife to break the paint seal.
- Rusty Screws: Apply a penetrating lubricant and let it sit for a few minutes before attempting to turn them.
Installing Your Fresh Outlet Plate Cover
Now that you’ve bid farewell to the old, it’s time to welcome the new! Follow this step-by-step guide for aligning and installing your brand-new outlet plate cover without a hitch.
Positioning and Aligning the Cover
- Position the new cover over the outlet, aligning the screw holes with those on the wall.
- Ensure the screw holes on the cover match perfectly with the holes on the wall. The cover should sit flat against the wall.
Screwing in the New Cover
- Insert the screws into the screw holes on the cover and start turning them clockwise. Use your fingers to turn the screws initially.
- Once the screws are in place, use the screwdriver to tighten them. Be cautious not to overtighten, as it may damage the cover or the wall.
Ensuring a Snug Fit Without Damage
- When securing the screws, apply even pressure to achieve a snug fit. Avoid forcing the screws, as this may lead to damage.
- Gently give the new cover a wiggle to ensure it’s securely in place. It should be stable, not loose.
Finishing Touches: Ensuring Safety and Tidying Up
Congratulations on successfully removing the old outlet plate cover! Let’s cover the finishing touches, ensuring safety, functionality, and a tidy workspace.
Double-check for Safety and Functionality
- Ensure all wires are secure and properly connected.
- Insert a small appliance or device into the outlet to ensure it functions correctly. This confirms that the wiring is intact and the outlet is operational.
- Confirm that the new outlet plate cover is securely in place. Gently wiggle it to check for any looseness.
Cleaning Up Responsibly
- Place the old outlet plate cover and screws in a secure waste container or bag.
- Use a soft, damp cloth to wipe down the area around the outlet. This removes any dust or residue left behind during the installation.
Embrace the Project!
Updating and refreshing your outlets is a project that carries both aesthetic and functional benefits, transforming your living space with a simple yet impactful change. So confidently embrace the project, knowing that the small details matter.
Your home’s safety is as important as its style, and a well-maintained electrical system is the key to a secure and beautiful living space.

