
Your guide to hiding a crack in the laminate flooring
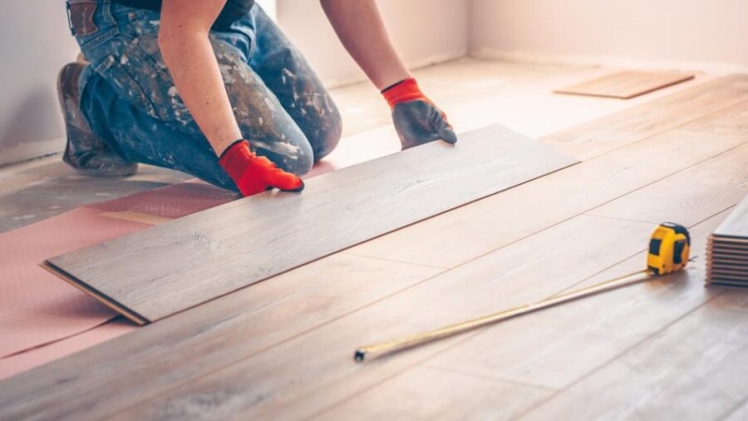
If you are not in the favor of installing hard wood flooring at your home, laminate flooring is the right choice. Another advantage of laminate flooring for budget-conscious DIYers and construction professionals is that it can be installed over most floors. Moreover, the versatility, allure and cost-effectiveness makes laminate flooring an excellent choice. No matter how amazing laminate flooring sounds, it has its own flaws and one of which is that it too can be destructed.
Accidentally, you can cause damage to the laminate floor which could lead to a crack or two. In case any such thing happens, what would you do? Will you just replace the entire flooring and bear the expenses? Certainly not, you can work on the accidental or timely cracks and other flaws with ease.
Yes, hiding cracks in the laminate flooring is possible. You can repair minor cracks and other signs of wearing easily at home. All you need is some wood repair items and you are all set to make your laminate flooring flawless.
Here is the detailed process of repairing cracks in the laminate flooring.
Repairing and hiding cracks in Laminate flooring:
What makes laminate flooring popular is its fine finish and easy to use and maintain nature. However, the experts at the best Dallas flooring companies explain that laminate flooring too is prone to wear and tear and cracks and holes are common after a certain time. Here is how you can repair these cracks and holes and ensure smooth and flawless laminate flooring.
-
Start with cleaning
The first step of the process is cleaning the area to be repaired. You must broom the area, vacuum clean it and then work on the grime collection, if any. To easily clean the flooring, you can use a store bought laminate cleaner or make one of your own. Add dish washing soap and water together to make a solution and use it for mopping the laminate floor clean. Baking soda and vinegar are also two great substance to use for cleaning the floor.
-
Where are the cracks?
Now that you have clean laminate flooring, you can check the flooring easily. It is time to do some inspection and check the flooring for cracks and holes. Yu must be very vigilant during the inspection to ensure nothing goes unnoticed. Even a minor crack can lead to major damage if left unattended.
-
Arrange the repairing supplies
Once you have identified the cracks and chips, you will have to arrange the repairing products now. Depending upon the type and extent of cracks, you may use putty or wax crayon for hiding the crack. Make sure you buy the matching color wall putty or wax crayon.
-
Start with the sanding
Roll up your sleeves and let the dirty job begin. Take a sanding paper to rub the edges of the cracks. The sanding will help you make a smooth surface and also remove the dirt from the surrounds. The finer you sand and smoother the surface is, the better you will be able to bond the putty to the surface and have long lasting results. Once you have sanded the surface, you can clean it with a broom or use a damp cloth or sponge for cleaning.
-
Putty preparation
Buying high quality putty is very important. You can either buy online or reach to the store at the next block and make the purchase. It is critical to know that putty preparation is a crucial step that decides the longevity of the entire process. You must know how to prepare the putty for application, following label instructions is advised. However, usually putty is made by mixing the powder putty with the hardener. You will also need a putty knife to mix the two substances and make a perfect mixture.
As soon as the putty is made, apply it to the cracks and let it dry. Do not make thick layers of putty. Instead, apply it in thin and even layers.
-
Excess putty is not allowed
Putty dries real quick and hence you must be quick in removing the excess putty. Use a putty knife, sponge or damp cloth for removing the putty.
-
Dry it off
As aforesaid, putty dries of quickly but the deep surfaces need some time to completely dry off. You must leave the area untouched for at least an hour and so and allow the putty to dry well.
The experts suggest that wood fillers can also be used for the repair job. Also, it is always better to use some precautions instead of working on the cracks later. Laminate flooring is rough and tough but it demands some sort of care. You need to make sure that you keep sharp objects away from the laminate flooring and also that you use appropriate padding to cover the laminate wherever it is exposed to heavy objects.
Additionally, installing a vapor barrier is also advisable to prevent damage from moisture. As soon as the moisture enters the laminate, you can see swelling or bubbling on the sheet. This not only looks bad but also shortens the life of your laminate flooring. Keep the flooring clean and well maintained to have a long lasting appeal and functionality.
Now that you have enough knowledge about repairing cracks in laminae flooring, get set go and make your laminate flooring flawless.